Anyone who has lived through a July heatwave with a faltering AC knows that time stretches when the house won’t drop below 80. The same people often ask a fair question: how long does air conditioning installation really take, from the first quote to the first cool evening? The short answer is usually days to a couple of weeks, not hours, and it varies with the home, the equipment, and the crew’s preparation. The long answer is more useful, because it exposes the small decisions that make a big difference in comfort, reliability, and cost of ownership over the next 10 to 15 years.
This is a practical walk through the process with the sort of detail a homeowner wishes they had before they start making calls. It covers what’s predictable, where timelines stretch, and how an HVAC contractor orchestrates the dozens of small tasks that sit between a quote and a working system. Expect a few hard truths mixed in with checklists and examples, from ducts that were never sealed properly to city inspections that run a day late when it rains.
Start with the end in mind: what “done” looks like
A successful air conditioning installation does three things on day one. It drops indoor temperature under design load, it runs quietly without short cycling, and it leaves no nagging airflow imbalances between rooms. Hitting these marks depends on proper sizing, correct refrigerant charge, clean electrical work, and duct conditions that match the new system’s airflow needs. Cutting corners here saves an hour and steals years from the system.
On the contractor side, we treat “done” as broader than cold air. Proper commissioning means documented static pressure, delta-T across the coil within spec, and a refrigerant charge set by manufacturer method, not guesswork. For heat pumps, we confirm the defrost cycle during commissioning and verify thermostat programming matches staging. Small details prevent callbacks, which is why they belong on the timeline, not as afterthoughts.
The first contact: from inquiry to site visit
Once you reach out, a reputable HVAC contractor usually sets a site visit within two to five business days during moderate seasons. In peak summer, expect that to stretch to a week, sometimes longer. A good office team triages emergencies against new installations, and they will be candid about the queue. In my experience, the quality of that first conversation predicts the rest of the job. If scheduling is chaotic or details are fuzzy, the install schedule may follow suit.
During the visit, the technician gathers load data, inspects the electrical panel, measures duct sizes, takes note of return placement, and looks hard at attic or crawlspace access. They also check line set routing, drain routes, and condensate safety options. If there’s an existing air conditioning replacement, we consider reuse of certain components, like line sets or pads, against manufacturer guidance and contamination risks. Reusing a line set can save time, but not if it is kinked, undersized, or too long for the new equipment.
Expect that site visit to last an hour for a typical home, closer to two hours for complex layouts, multi-story houses, or homes with zoning.
From assessment to quote: more than one number
A thorough quote takes shape within a day or two after the visit, longer if multiple options are requested. The written scope should show model numbers, SEER2 ratings, tonnage, heater strip size if applicable, and any duct modifications. It should list electrical upgrades if the panel needs a dedicated breaker or if a disconnect is missing. It should also name permit requirements in your jurisdiction.
If you receive a single lump-sum number with no breakdown, ask for at least a line item summary. Air conditioning installation is not a commodity, and opaque numbers almost always hide compromises. You want to understand whether coils are cased and matched, whether the thermostat supports staging, and whether the job includes manual balancing of dampers.
Scheduling the job: lead times and logistics
Once you approve the quote, the clock starts for real. Equipment lead times vary. Common split systems are often available within a day or two from local distributors, but specialty models, heat pumps with cold-climate ratings, variable speed air handlers, or high-capacity commercial HVAC units can take three to ten business days. During supply crunches, a particular coil or furnace cabinet size can add a week. Good shops reserve equipment once you’ve signed, rather than waiting until the day before installation.
Permitting runs in parallel. Many municipalities issue mechanical permits within 24 to 72 hours online. Some require plan review when structural changes or new electrical circuits are involved. That can extend the schedule by several days. If the installation requires crane service for a rooftop unit, coordination with the city for street closure or with a property manager for rooftop access can add another layer of timing.
Weather can also interfere. Roof work and rooftop condensers pause for lightning or high winds. Attic installations slow down dramatically above 100 degrees. I have rescheduled attic installs to early morning starts to protect crews and deliver a better outcome, rather than rush and risk poor brazing or sloppy sealing because the attic is 125 degrees.
Preparation day: what happens before the truck rolls
A well-run team preps materials at the shop the day before. That means verifying the air handler orientation, checking coil match, confirming breaker sizes against nameplates, staging line set lengths, and pre-fabricating plenums or transitions. It also includes assembling hangers and vibration isolators, checking that the condensate safety switch is the right type for the drain configuration, and confirming that the pad location is level and meets clearances.
On more complex projects, the lead installer will review the plan with the crew. Even small forethought saves hours: deciding whether to snake a line set under the house or through a chase, where to place a secondary condensate drain, and how to rework a return drop to meet the new air handler’s external static pressure tolerance. If the team shows up without transitions or with the wrong coil orientation, you are losing hours while someone makes a parts run.
Installation day, part one: removal and rough-in
Demolition and rough-in on a straightforward air conditioning replacement, with no duct changes and easy access, can run half a day. Remove old equipment, cap or recover refrigerant properly, disconnect electrical and drain, and pull the old air handler or furnace. If a new pad is needed, it gets leveled and set. The disconnect is replaced if corroded, and whip lengths are cut to fit without strain.
Rough-in includes setting the new air handler or furnace, leveling it, and aligning the coil and plenum. It also covers initial duct alignment, return connection, and start of the line set work. Brazing or press fittings come later, but planning the route is vital. Drains are pre-fitted, with slope checked and secondary safety installed, whether that is a float switch or a pan switch. In homes with tight closets, we sometimes swap to a side-discharge plenum or adjust the base to improve service clearances. This sort of adjustment adds an hour or two and pays back forever during maintenance and ac repair.
If the install involves converting from an older furnace with a mismatched coil to a fully matched system, plan for added time to fabricate transitions. A return drop that once fed a 3-ton system may be undersized for a high-efficiency blower with higher airflow. There is no sense installing a 16 SEER2 system and then choking it with a starved return. A competent HVAC contractor will flag this and recommend a return upgrade to keep static pressure within spec, which can add a few hours.
Installation day, part two: line sets, drains, and electrical
The middle of install day is usually the slowest because it demands precision. Line sets are run or reused, then brazed with nitrogen flowing to prevent scale. Pressure tests at 300 to 500 psi, depending on manufacturer and local practice, take place and are held for time. Leak checks are both manometer and soapy solution. I have watched a crew lose 45 minutes chasing a micro-leak on a flare that was under-torqued. That is time well spent.
Drains are solvent welded or assembled with mechanical fittings as needed, pitched at least a quarter inch per foot, with a cleanout and a trap if required by design. Primary drains exit to code-compliant locations, often to the exterior with an air gap, while secondary drains terminate in a conspicuous place so a homeowner sees them dripping during a primary clog. An auxiliary pan under attic units is non-negotiable, with a separate float switch. Every experienced tech has a story of a ceiling saved by a ten-dollar float.
Electrical work includes landing high voltage on the air handler or furnace, wiring the condenser, and installing a properly sized breaker. Low-voltage control wiring is kept tidy, labeled when staging or add-ons like humidifiers are included, and terminated at the thermostat if the existing one is replaced. If a heat pump is being installed in a home that previously had straight cool plus gas heat, thermostat wiring may need extra conductors. Sometimes we fish a new cable to avoid wire splices behind walls, which extends the day.
Installation day, part three: evacuation, charging, and startup
Once pressure testing clears, evacuation begins. A deep vacuum below 500 microns, often down to 300 or better, is essential to remove moisture and non-condensables. Good practice includes a rise test to confirm there is no leak or trapped moisture. This step is where patience pays. Rushing evacuation, or trusting a single gauge, leads to callbacks and compressor wear. With modern digital manifolds, you know in minutes whether you have a tight system and a dry interior.
Charging follows factory procedure. For fixed orifice systems, superheat is set under a known load. For TXV or EEV systems, we confirm subcooling against label specs. Ambient conditions matter. On cool days, a load bank or staged heating can be used to put the system under enough load to dial in charge accurately. I have returned the next afternoon, once the day warmed up, to fine-tune subcooling on a system installed during a cold snap. That is part of honest commissioning.
Startup is not just blowing cold. We measure temperature split across the coil, check static pressure at returns and supply, verify blower speeds against target CFM, and adjust taps to match ductwork. For variable speed systems, we configure the blower profile and confirm that the thermostat staging logic is correct. With heat pumps, we test reversing valve operation and auxiliary heat lockouts. If any of these steps are missing, you are not finished.
When timelines stretch: ductwork, access, and surprises
The fastest installs happen when ductwork is in good shape, equipment is a like-for-like swap, electrical capacity is adequate, and access is easy. That is not most homes. The common slowdown is duct remediation. Undersized returns, crushed branches in attics, leaky plenums, and boot connections that were never sealed add static pressure and ruin airflow. If the scope includes duct sealing or resizing, add a half day to two days, depending on the extent. Good crews offer options: a quick patch that wins back the worst leaks, or a full set of transitions and a new return that corrects the underlying problem.
Tight attics and crawlspaces cost time. Every time a tech has to belly crawl forty feet with a tool bag, the clock moves. In one older house, the only path to run a new line set was a brick chase behind a closet. We removed a small section of drywall, fished the lines, then patched and primed the next morning before the inspector arrived. It added six hours end to end, but it hid the lines and protected them for the life of the system.
Electrical capacity is another pivot point. Older panels already at their limit demand a subpanel or a service upgrade, which adds days and may involve a separate electrical permit. Coordinating that ahead of time keeps an HVAC replacement from stalling on install day.
Permits and inspections: what they add to the calendar
Many jurisdictions require mechanical permits for air conditioning installation and replacement, and some require final inspections. A straightforward residential replacement often passes on first inspection if the installation meets clearances, disconnect placement is correct, conduit is supported, lines are insulated and UV protected, and the condensate plan matches code. Inspections can be same-day in smaller towns or two to three days out in busier cities. Weather and staffing push these windows.
A pass on the first try happens when the contractor knows the inspector’s style and the local amendments to code. Details like strapping for refrigerant lines on exterior walls, sediment traps on gas furnaces, and correct labeling inside the electrical panel are simple to do during install and frustrating to fix after the fact.
Commissioning and walk-through: the hour that saves headaches
The last hour of the job belongs to education and documentation. A lead tech should hand over model and serial numbers, thermostat basics, filter sizes, and a maintenance schedule. They should show where the primary and secondary drains terminate and what a homeowner should look for during ac maintenance. They should also explain noise expectations and any oddities in the first 24 hours, such as a new system smell or oil residues burning off heaters in a dual-fuel setup.
This is also the time to set reminders for filter changes and to schedule the first maintenance visit. Annual heating maintenance and cooling checkups are not marketing fluff. They catch slow refrigerant leaks, clogged drains before ceilings stain, and high static pressure before a blower overheats. If a commercial HVAC system is involved, a quarterly plan often makes sense due to heavier duty cycles and stricter ventilation requirements.
A realistic timeline, phase by phase
Homeowners often want a single number. The closest honest summary for a conventional split system, no major duct changes, in a single-family home with easy access, goes like this:
- From first call to site visit: 2 to 7 days, depending on season. From site visit to quote: 1 to 3 days, longer if multiple options or heat loss/heat gain calculations are needed. From approval to install day: 2 to 7 days for equipment procurement and permitting. Installation duration on site: 1 long day to 2 days for standard swaps, 2 to 4 days if duct modifications or electrical upgrades are included.
Edge cases stretch the schedule. Zoning systems, attic duct replacement, crane lifts for rooftop units, or panel upgrades can add several days. Tight markets and heatwaves push every step outward.
How Southern HVAC LLC plans and paces an install
I have watched well-intentioned teams lose time to noisy problems that better planning would have avoided. Southern HVAC LLC builds time into the front end for load calculations and duct assessments rather than racing to an install date that can’t hold. On replacements, they measure static pressure with the existing system running before quoting, which often reveals a starved return that would kneecap a high-efficiency blower. Corrections get priced and scheduled up front, so the crew shows up with the transitions already built.
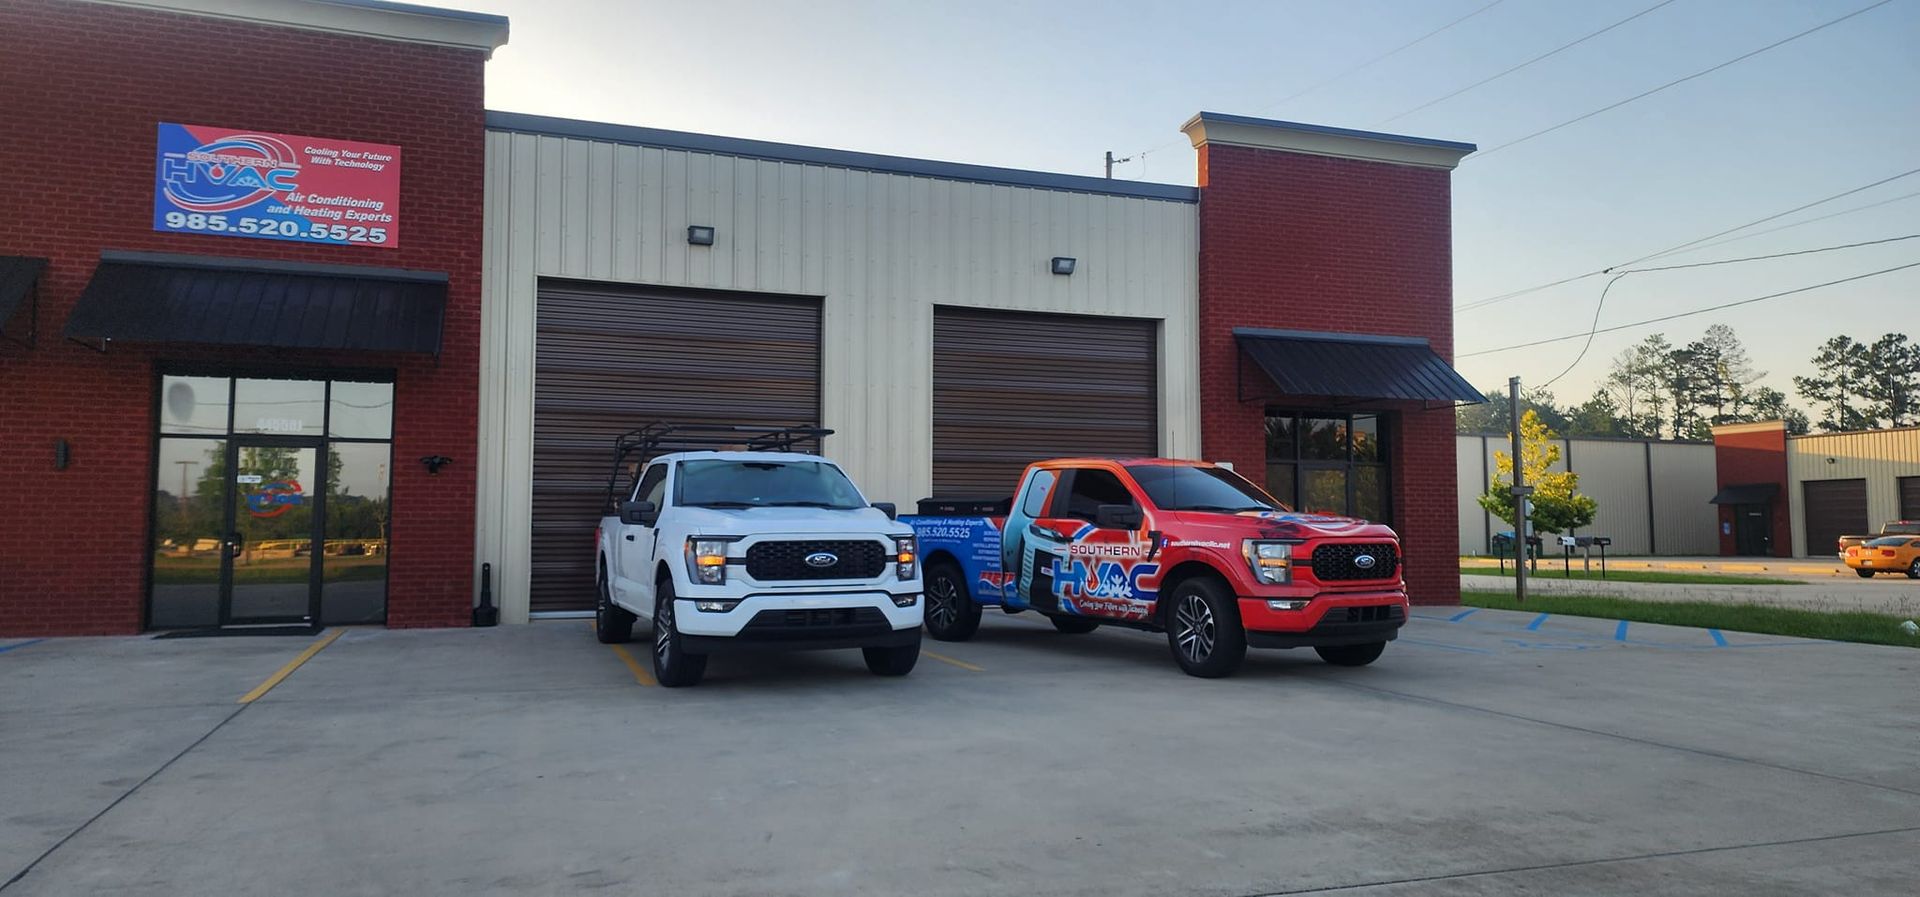
Another small but telling habit is how they handle drains. Rather than relying on the old drain route, they test flow, add cleanouts, and place float switches where they are accessible. A field supervisor once flagged a drain that ran uphill for four feet under a floor before reaching a tie-in. It had “worked” by luck and slow wicking, then failed and flooded a hallway. The fix added three hours that day and prevented a future ceiling repair. Little things like that do not change the headline timeline, but they make the difference between a smooth first summer and a string of service calls.
Southern HVAC LLC on installation day: a field story
One of the cleanest installs I have seen involved a two-story house with a failing 3.5-ton system. The homeowners wanted better comfort upstairs without tearing into every wall. The quote included a modest duct rework, a larger return, and a variable-speed air handler paired with a heat pump. Equipment arrived in three days, permit posted the day before, and the crew staged transitions in the shop.
Day one ran from 8 a.m. to 5:30 p.m. Old equipment out by 10, new pad set, air handler leveled in a cramped closet by lunch, line set brazed midafternoon, and a vacuum drawn while drains cured. By 4 p.m., refrigerant charge was set. Static pressure was a hair high on the first pass, and the lead installer opened a balancing damper on the downstairs branch to give more air to the second floor. By 5 p.m., the upstairs bedrooms dropped from 81 to 74, with a delta-T across the coil at 18 degrees. The crew returned for 90 minutes the next morning to button up a return grille and meet the inspector. That was a textbook two-day rhythm with a predictable outcome.
Avoiding the traps that derail schedules
Three traps blow up timelines more than any others. First, underestimating duct issues, especially returns in older homes. If a new system is installed without correcting a starved return, it will be noisy, inefficient, and vulnerable to icing in high humidity. Second, forgetting about electrical capacity until install day. A 60-amp heat strip added to a heat pump can tip a panel over the edge. Third, skipping manufacturer-specific steps during commissioning, then troubleshooting comfort complaints after the contractor is gone. Each of these can be avoided with methodical planning and ten extra minutes at the quoting stage.
What changes if it is not a simple split system?
Packaged units simplify some steps by reducing line set work, but they add rigging and roof coordination. Ductless systems trade duct complexity for multiple line sets and condensate routing from wall heads, and they demand careful flare work or press fittings. For commercial HVAC, rooftop units require cranes, curb adapters, and sometimes structural verification, with permits and inspections that add calendar time even if the crane lift itself lasts half an hour.
Heat pumps bring their own timeline notes. In shoulder seasons, charging and verification can be tricky when outdoor temperatures are mild. A return visit to confirm subcooling or to test defrost logic under colder conditions is not unusual. Dual-fuel setups add thermostat programming and gas safety checks.
How maintenance and repair intersect with installation timelines
Homeowners often ask whether rushing to install reduces future ac repair. The better way to say it is that careful installation and planned maintenance minimize repair frequency and severity. First-year maintenance catches the bedding-in issues: a drain that shows early biofilm growth, a slightly loose low-voltage connection that vibrates in a vertical air handler, a filter door that sags and leaks return air. After that, annual ac maintenance and heating maintenance keep coils clean, blower wheels balanced, and air conditioning replacement bearings lubricated where applicable. These are not just comfort items, they protect compressors and heat exchangers.
On equipment that has limped along for years, it can make sense to perform a temporary heating repair or cooling repair to stabilize a system for a few days while you plan a safe and thorough replacement. Southern HVAC LLC has done this for homeowners who needed time to coordinate permits or to avoid installing in a 120-degree attic at 3 p.m. on a Saturday. A small repair buys planning time, and planning keeps installation days predictable.

Post-install realities: noise, airflow, and the first heat wave
After the crew leaves, the house will teach you things in the first week. A new variable-speed blower sounds different than a single-speed unit. You might hear a brief surge at startup as the blower tests static and ramps. Return noise often indicates filter or grille restriction. A whistling supply grille usually means air velocity is too high for that size opening, and a simple grille swap can quiet it. None of these require panic. A competent contractor schedules a courtesy follow-up within a few days to tweak blower speeds or adjust dampers if needed.
During the first heat wave, watch how the system recovers from setbacks. If you set back by ten degrees and expect a 3-ton system to win that back in an hour, you will be disappointed. Large setbacks can lead to long runtimes and potential humidity issues. For heat pumps, especially, gentle setbacks preserve comfort and efficiency.
A homeowner’s short checklist on timing
For those who like a compact guide, here is a simple list that keeps timelines real and jobs smooth:
- Ask for load calculations and a static pressure reading on the existing system during the quote. Confirm permit requirements and inspection timing before you schedule. Clarify whether duct changes are included and how they affect the calendar. Verify electrical capacity early, especially with heat strips or dual-fuel systems. Schedule the install to avoid midday attic work in extreme heat when possible.
Where heating fits into the picture
Even if the primary goal is cooling, a matched system is only as strong as its heating side. Heating installation, whether gas furnace or heat pump with auxiliary heat, shares the same ductwork and controls. Planning both at once often saves time and avoids mismatches. Heating repair discovered during a summer install, like a cracked heat exchanger or a failing inducer motor, can be addressed before winter, rather than turning into a no-heat call in January. For systems at end of life on both sides, a single, coordinated heating replacement and AC upgrade usually shortens the overall disruption compared to two separate projects months apart.
The payoff of patience and process
The timeline from quote to cool is not a mystery, but it is a choreography. The best installs look easy because the messy thinking happened earlier: in the load math, the duct decisions, the parts staging, and the discipline of commissioning. When you see a crew wrap up in one day, it often means they spent the previous afternoon prepping transitions, checking coil matches, and making sure the right breakers and disconnects were on the truck. You feel the benefit every hot day after.
If you are talking to multiple companies, listen for process as much as promises. The one that explains static pressure, return sizing, drain safety, and thermostat staging is not just filling time. They are walking you through the same checkpoints their team will use to keep your project on schedule and your home comfortable for the long run. That alignment is what turns a timeline into a plan, not a hope.